In the video titled “DIY Murphy bed | How To Build A Wall Bed” by April Wilkerson, she provides a step-by-step tutorial on building a Murphy bed, also known as a wall bed. April uses a complete Murphy bed kit from Rockler, which includes everything needed to build the bed except for the plywood. She starts by unpacking the kit and cutting the plywood sheets according to the provided instructions. April then proceeds to assemble the bed frame, attach the mounting brackets, and add dowels for extra strength in the joints. The video also showcases the sanding and painting process, as well as the installation of door panels, slats, and mattress supports. The project is completed with a partnership with Casper mattress. Supporting April Wilkerson’s work is encouraged, and the video can be found on her Instagram account, wilker_dos.
DIY Murphy Bed

Introduction to Murphy Bed
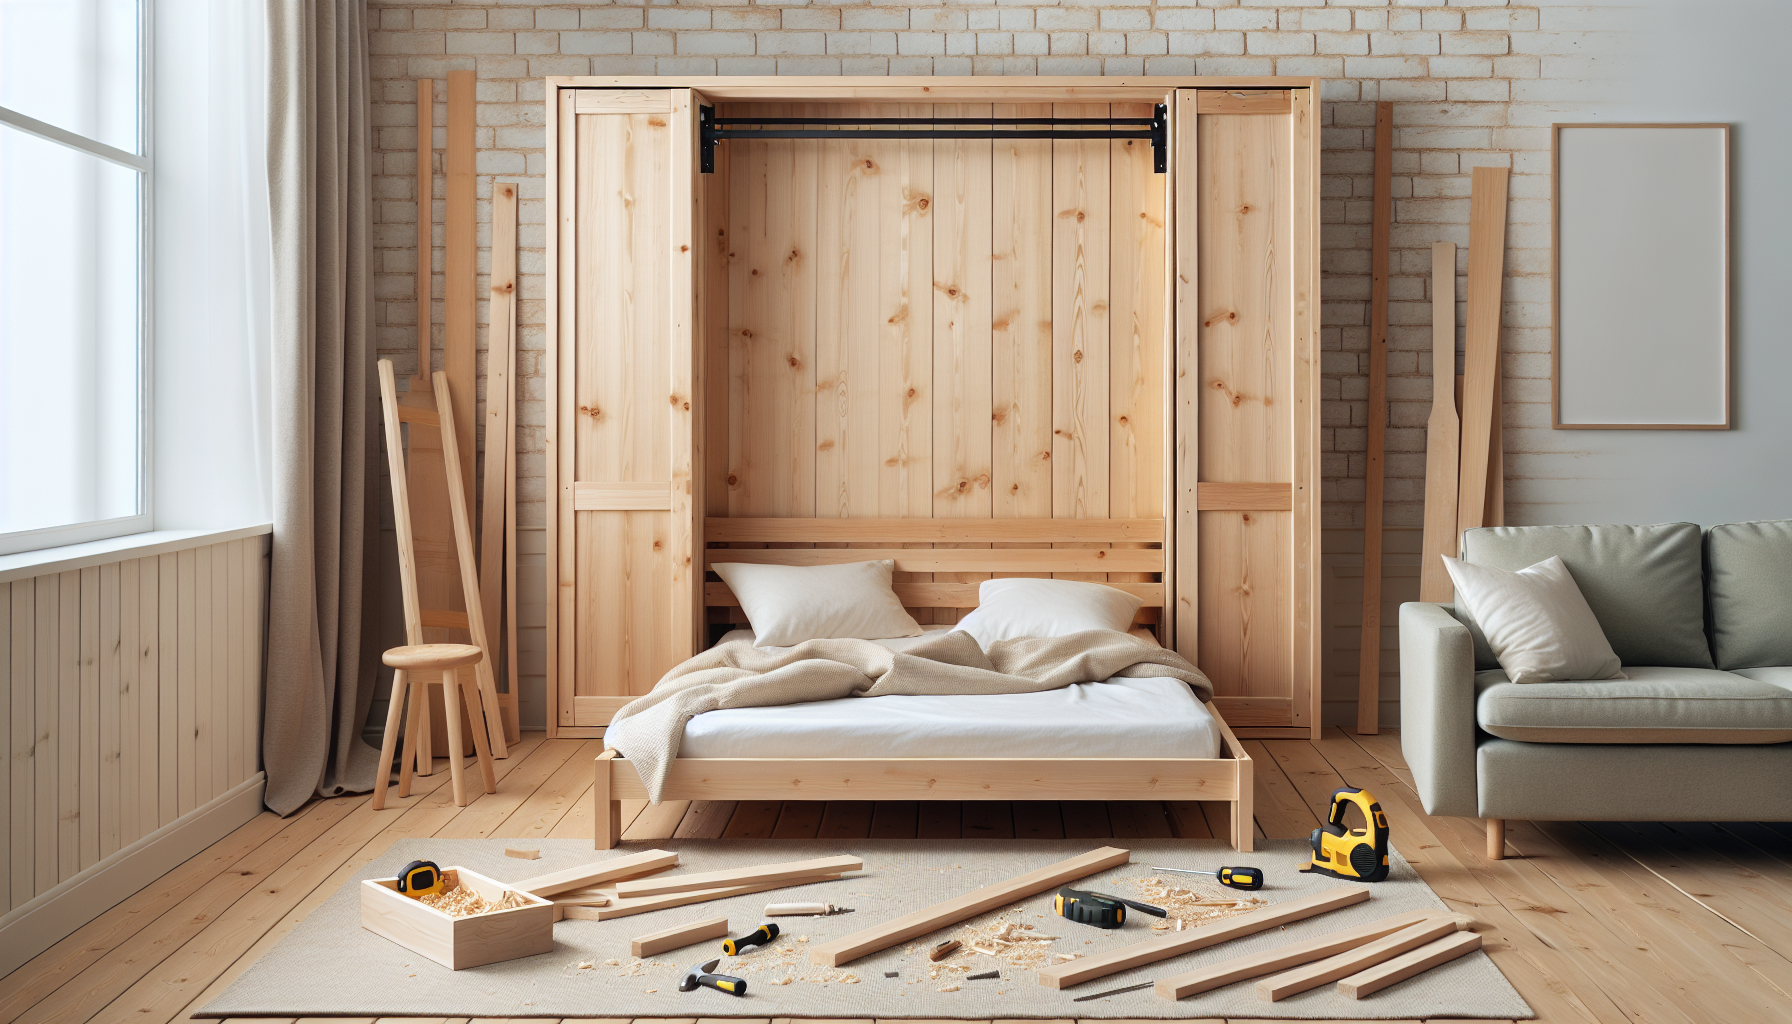
A Murphy bed, also known as a wall bed, is a functional and space-saving piece of furniture that can be folded up and stored against a wall when not in use. It is a popular choice for small apartments or rooms that need to serve multiple purposes. In this DIY tutorial, we will guide you through the process of building your own Murphy bed.
Benefits of Building a Murphy Bed
There are several benefits of building your own Murphy bed. Firstly, it allows you to customize the size and design to fit your specific needs and space. You can choose the dimensions that work best for your room and incorporate any additional features or storage options you desire. Secondly, building a Murphy bed can be a cost-effective solution compared to buying a pre-made bed. Lastly, it is a rewarding project that allows you to showcase your DIY skills and creativity.
Materials and Tools Required
To build a Murphy bed, you will need the following materials and tools:
Materials:
- Murphy bed kit (such as the Rockler Murphy Bed Kit)
- Plywood sheets
- Mounting brackets
- Hinges
- Dowels
- Wood glue
- Screws
- Paint or finish of your choice
- Slats and mattress supports
Tools:
- Track saw or circular saw
- Measuring tape
- Marking tools
- Drill
- Allen wrench
- Clamps
- Palm sander
- Mallet
- Paint roller
- Planer (optional)
- Brad nailer
- Level
Overview of the Process
The process of building a Murphy bed involves several steps, including unpacking and preparation, assembly, and finishing touches. Here is a brief overview of the process:
-
Unboxing the Murphy Bed Kit: Start by unpacking all the components of the Murphy bed kit and familiarizing yourself with the instructions.
-
Measuring and Cutting the Plywood: Use a track saw or circular saw to cut the plywood sheets according to the dimensions provided in the instructions or your own custom measurements.
-
Preparing the Mounting Brackets: Lay out and drill holes in the mounting brackets as per the instructions. Install threaded inserts using an Allen wrench.
-
Drilling Holes and Adding Dowels: Mark and drill holes for dowels to provide extra strength in the joints. Apply wood glue and assemble the bed frame.
-
Sanding the Panels: Use a palm sander to sand all the plywood panels, ensuring a smooth and even surface.
-
Painting the Panels: Apply paint or finish of your choice to the panels, following the manufacturer’s instructions. Consider adding a design or accent panels for a personalized touch.
-
Assembling the Bed Frame: Use clamps and wood glue to assemble the panels into a box-like structure. Ensure all edges are aligned and secure the joints with screws if needed.
-
Attaching the Frame to Mounting Brackets: Position the bed frame onto the mounting brackets and secure them using the provided bolts. Make sure the frame is level and aligned.
-
Installing the Foot and Stop Block: Attach the foot or floor-resting mechanism to the bed frame. Install a stop block to prevent the frame from going too far into the cabinet when folded.
-
Attaching Door Panels: Install the door panels using hinges and screws. If desired, add decorative accents or additional features to the doors.
-
Adding Brackets and Screws: Attach supporting brackets and screws to secure the bed frame and ensure stability.
-
Attaching Slats and Mattress Supports: Install slats and mattress supports according to the kit instructions or your personal preferences.
-
Final Steps of the Project: Make any necessary adjustments or touch-ups. Test the functionality of the Murphy bed to ensure it operates smoothly.
-
Partnership with Casper Mattress: The creator of this DIY tutorial, April Wilkerson, mentions a partnership with Casper mattress at the end of the video. However, further details about this partnership are not mentioned in the provided summary.

Introduction to April Wilkerson
April Wilkerson is the creator of this DIY Murphy bed tutorial. She is known for her woodworking and DIY projects, which she shares on her Instagram account, @wilker_dos. April’s videos provide step-by-step instructions, making them a valuable resource for anyone interested in DIY projects.
Her Instagram Account
April Wilkerson’s Instagram account, @wilker_dos, is a hub for DIY enthusiasts. She showcases her projects, shares tips and tricks, and inspires others to take on their own DIY endeavors. If you enjoy the Murphy bed tutorial and want to see more of April’s work, be sure to follow her on Instagram.

Supporting April Wilkerson
The summary mentions supporting April Wilkerson, but it does not provide specific details on how to do so. If you appreciate April’s content and want to support her, consider engaging with her on Instagram by liking her posts, leaving comments, and sharing her content with others. Additionally, you can explore April’s website where you may find more information on how to support her, such as purchasing merchandise or donating directly.
Introduction to Rockler Murphy Bed Kit
The Rockler Murphy Bed Kit is the main component used in this DIY tutorial. It is a complete kit that includes all the necessary hardware and components to build a Murphy bed, except for the plywood. The kit offers convenience and ensures that you have all the required parts to complete the project.

Contents of the Kit
The Rockler Murphy Bed Kit typically includes items such as mounting brackets, hinges, dowels, screws, and supporting hardware. These components are specifically designed to provide stability and functionality to the Murphy bed. It is important to carefully review the contents of the kit and refer to the included instructions for proper assembly.
Additional Materials Required
In addition to the Murphy bed kit, you will need plywood sheets to construct the bed frame and panels. The number and dimensions of the plywood sheets may vary depending on the size of the bed you are building. Refer to the instructions or your own measurements to determine the required amount of plywood. You will also need paint or finish for the panels, slats, and mattress supports.

Unboxing the Murphy Bed Kit
Start the assembly process by unpacking the Murphy bed kit and organizing its contents. Familiarize yourself with the different components and ensure that everything is included as specified in the instructions. Take the time to read through the instructions thoroughly to understand each step of the process.
Measuring and Cutting the Plywood
To build the bed frame and panels, you will need to measure and cut the plywood sheets. Use a track saw or circular saw to accurately cut the plywood according to the dimensions provided in the kit instructions or your own custom measurements. It is important to double-check your measurements and label the cut pieces to keep them organized during the assembly process.
Preparing the Mounting Brackets
The mounting brackets are an essential part of the Murphy bed assembly. Lay out the brackets according to the plans provided in the instructions. Mark the holes that need to be drilled and ensure that they are aligned properly. Use a drill to create the holes, being mindful of the proper depth. After drilling the holes, insert threaded inserts using an Allen wrench to provide a secure attachment for the brackets.
Drilling Holes and Adding Dowels
To reinforce the joints and provide additional strength to the bed frame, it is recommended to use dowels. Mark and drill holes for the dowels in the designated locations. Apply wood glue to the joints, insert the dowels, and carefully assemble the bed frame. The dowels will not be visible once the bed is fully assembled, but they will significantly improve the strength and durability of the structure.
Sanding the Panels
Before proceeding with the painting or finishing process, it is important to ensure that all the plywood panels are smooth and free of imperfections. Use a palm sander to sand the surfaces of the panels, both on the front and back. This will create a clean and even base for the paint or finish to adhere to. Consider using different grits of sandpaper for optimal results.
Painting the Panels
Painting the panels is an opportunity to personalize your Murphy bed and enhance its visual appeal. Choose a paint or finish that matches your desired aesthetic. Apply multiple coats of paint, allowing each coat to dry before applying the next. Follow the manufacturer’s instructions for proper application and drying times. This will ensure a professional-looking finish and protect the wood surface.
Creating Thin Accent Panels
For added visual interest, you can create thin accent panels to decorate the doors of the Murphy bed. These panels can be made from masonite or plywood. If you have leftover plywood from the project, consider planing it down to the desired thickness. Apply paint or finish of your choice to the accent panels and attach them using wood glue and a brad nailer. Fill in any nail holes for a seamless finish.
Assembling the Bed Frame
With all the individual components prepared, it is time to assemble the bed frame. Use clamps and wood glue to securely attach the panels and form a box-like structure. Ensure that all edges are aligned and the joints are tight. If necessary, use screws as additional reinforcement. Take the time to check for squareness and make any adjustments as needed.
Attaching the Frame to Mounting Brackets
Once the bed frame is fully assembled, it is ready to be attached to the mounting brackets on the side panels. Position the frame onto the brackets and secure them using the provided bolts. It is important to ensure that the frame is level and aligned properly. Take extra care during this step to ensure the stability and functionality of the Murphy bed.
Installing the Foot and Stop Block
The foot or floor-resting mechanism is an essential component of the Murphy bed. It allows the bed to fold in and out smoothly while providing support when the bed is in use. Install the foot according to the instructions, ensuring that it flips in when stowed away and flips out when in use. Additionally, attach a stop block to prevent the frame from going too far into the cabinet when folding.
Attaching Door Panels
To complete the visual aspect of the Murphy bed, attach the door panels using hinges and screws. Align the edges of the doors first, ensuring a proper fit. Use a square to align the first section of the doors to the existing points. Once the doors are attached, check for proper alignment and adjust if necessary. The doors can be painted or finished to match the rest of the bed.
Adding Brackets and Screws
To further secure the bed frame and ensure its stability, attach supporting brackets and screws as instructed. These brackets will provide additional reinforcement to prevent any wobbling or shifting of the bed frame. Carefully follow the instructions to ensure that the brackets are correctly installed in the appropriate positions. This step is crucial for the overall functionality and longevity of the Murphy bed.
Attaching Slats and Mattress Supports
For optimal comfort and support, attach slats and mattress supports to the bed frame. The specific method of attachment may vary depending on the Murphy bed kit used. Follow the instructions provided with the kit to properly install the slats and supports. This step is essential to ensure that the mattress is adequately supported and that the bed remains stable during use.
Conclusion
Building your own Murphy bed can be a rewarding and practical DIY project. By following this comprehensive tutorial, with guidance from April Wilkerson’s video, you can successfully create a functional and space-saving wall bed. Remember to carefully review the instructions and take your time to ensure accuracy and attention to detail. Enjoy the process and the satisfaction of completing a project that enhances your living space.