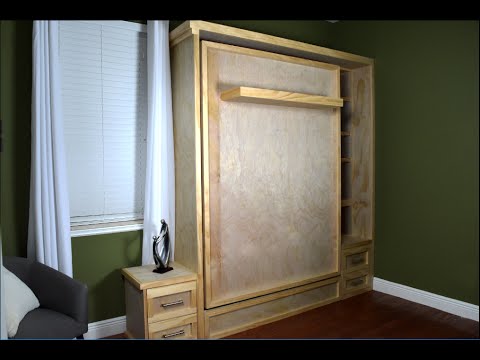
In this DIY tutorial by DIY Creators, you will learn how to make your own Murphy bed without using a hardware kit. The video takes you through the process of building a custom Murphy bed that can be hidden when not in use, providing extra space in your office or guest room. The bed includes storage space, a full-size mattress, removable headboard, and attached end tables with drawers. The materials for the bed cost around $360, making it an affordable DIY project. While the video does not provide plans, the creator plans to make them available in the future. So, if you’re looking for a space-saving solution that is both functional and stylish, this DIY Murphy bed build might just be the perfect project for you.
Materials and Cost
Overview of materials
To build a custom Murphy bed with storage, you will need the following materials:
- 6 2×4 boards
- 5 pine plywood boards
- 2 1×3 select pine boards
- 11 1×2 select pine boards
- Swivel hardware for the bed mechanism
- Screws and nails for assembly
- Drawer pulls for the end tables
- Sandpaper for finishing
Estimated cost of materials
The materials for this custom Murphy bed with storage will cost approximately $360. While a typical Murphy bed kit can cost around $300, the DIY approach allows for more customization and potentially lower costs.
Sketching and Planning
Clearing the room
Before starting the build, clear the room where the Murphy bed will be installed. Remove any furniture or obstacles that may get in the way.
Determining the bed’s location
Using masking tape, mark the area where the bed will be installed. Take measurements and sketch out the bed’s dimensions to ensure a proper fit within the space. Consider window placement and any other factors that may impact the bed’s positioning.
Building the Bed Frame
Overview of bed frame construction
The bed frame will be constructed using pocket hole joinery. This method involves drilling angled holes and using screws to securely join the wood pieces together. Pocket hole joinery is strong and efficient, making it an ideal choice for this project.
Using pocket hole joinery
To use pocket hole joinery, mark the locations for the pocket holes on the wood pieces. Use a pocket hole jig and drill to create the holes. Then, assemble the bed frame by attaching the pieces with screws.
Attaching swivel hardware
To allow the bed to be hidden when not in use, attach swivel hardware to the side panel. These hardware pieces are affordable and can be purchased at a local home improvement store. Drill holes in the side panel to secure the hardware. Use T-nuts to strengthen the support and ensure stability.
Adding Storage Features
Building the shelves
Construct the shelves using the selected pine and plywood boards. Cut the pieces to size and assemble them using screws and nails. The shelves can be designed to stand out and add a unique touch to the bed.
Constructing the end tables
Build the end tables using the same materials as the shelves. Use templates created during the drilling process to mark the holes and ensure consistency. Attach the end tables to the side panel of the bed with screws.

Installing drawers in end tables
To provide storage space, install drawers in the end tables. Create trim pieces to give the drawers a finished look. Use the trim pieces and screws to assemble the drawers. Finally, attach drawer pulls for easy opening and closing.
Assembling the Bed
Step-by-step assembly process
Start by assembling the mattress box, as it is the easiest part to build. Use pocket hole joinery to join the wood pieces and create a strong foundation for the mattress. Once the mattress box is complete, start assembling the rest of the bed by attaching the end tables, shelves, and other components.
Attaching trim
To ensure a polished and finished appearance, attach trim pieces to cover any rough edges on the plywood. Use the same material as the shelves and end tables for consistency.

Installing shelves
Secure the shelves in place using screws or nails. Double up on plywood to provide added support and maintain the trim’s consistency.
Attaching leg shelf
Create a leg shelf that can be used when the bed is in the up position and as a regular shelf when the bed is down. Install the leg shelf securely, considering the weight it will bear. Use the concept of a floating shelf to mount it to the bed frame.
Adding headboard
Design a headboard that can be easily removed to prevent pillows from falling when the bed is in the up position. Use scrap wood to create a holding point for the headboard. Cut the wood at an angle and add trim pieces for depth and visual interest.
Finishing Touches
Sanding and smoothing surfaces
Before applying any finishes, sand and smooth the surfaces of the bed frame, shelves, and end tables. This will ensure a professional and polished appearance.
Applying desired finish (e.g. stain, paint)
Choose a desired finish for the bed and apply it evenly to all wood surfaces. This could be a stain to enhance the natural beauty of the wood or paint to match the room’s decor. Follow the manufacturer’s instructions for applying the finish.
Adding hardware (e.g. drawer pulls)
Complete the look of the bed by adding hardware such as drawer pulls to the end table drawers. Choose hardware that complements the overall design and enhances the functionality of the bed.
Cost and Time Efficiency
Comparing costs to pre-made Murphy bed kits
While a pre-made Murphy bed kit may cost around $300, the DIY approach allows for customization and potentially lower costs. By carefully selecting materials and using pocket hole joinery, the total cost of materials for this custom Murphy bed with storage is estimated at $360.
Identifying time-saving aspects of DIY method
Although the video skips some of the wood cutting process, the DIY method still offers significant time savings. By using pocket hole joinery and swivel hardware, the assembly process can be streamlined. Additionally, the absence of plans in the video may have allowed for quicker decision-making and flexibility in the build.
Plans and Measurements
Discussion of absence of plans in the video
The video acknowledges the lack of plans but emphasizes that the bed was sketched out prior to construction. The absence of plans may have allowed for more creativity and adaptability while building the bed.
Creator’s intention to provide plans in the future
The creator of the video states that creating plans for the Murphy bed will be a priority in the future. This will provide a valuable resource for others interested in building a similar custom bed.
Importance of accurate measurements for customization
Accurate measurements are crucial when building a custom Murphy bed. Because the bed is designed to fit a specific space, taking precise measurements ensures a perfect fit. It is important to measure the room, window placement, and any other factors that may impact the bed’s location.
Alternative Design Options
Exploring different wood types and finishes
While the video demonstrates the use of select pine and plywood, there are various wood types and finishes to consider. Exploring different options allows for further customization and personalization of the Murphy bed. Consider the desired aesthetic and durability when choosing wood types and finishes.
Considering alternative hardware options
While the video uses swivel hardware for the bed mechanism, there may be other hardware options available. Researching and considering different hardware options can provide additional functionality or aesthetic appeal.
Modifying the design based on personal preferences
The design of the Murphy bed can be modified based on personal preferences and needs. Whether it’s changing the dimensions, adding or removing storage features, or altering the overall appearance, customization allows the bed to be tailored to individual tastes.
Conclusion
Summary of the DIY Murphy bed build process
Building a custom Murphy bed with storage is an achievable DIY project. By following the steps outlined in the video, you can create a functional and space-saving bed for your office or any other room.
Benefits of creating a custom bed without a hardware kit
Building a custom bed without a hardware kit allows for more customization, potentially lower costs, and a unique design. By using pocket hole joinery and swivel hardware, you can create a bed that meets your specific needs and preferences.
Overall satisfaction and functionality of the finished product
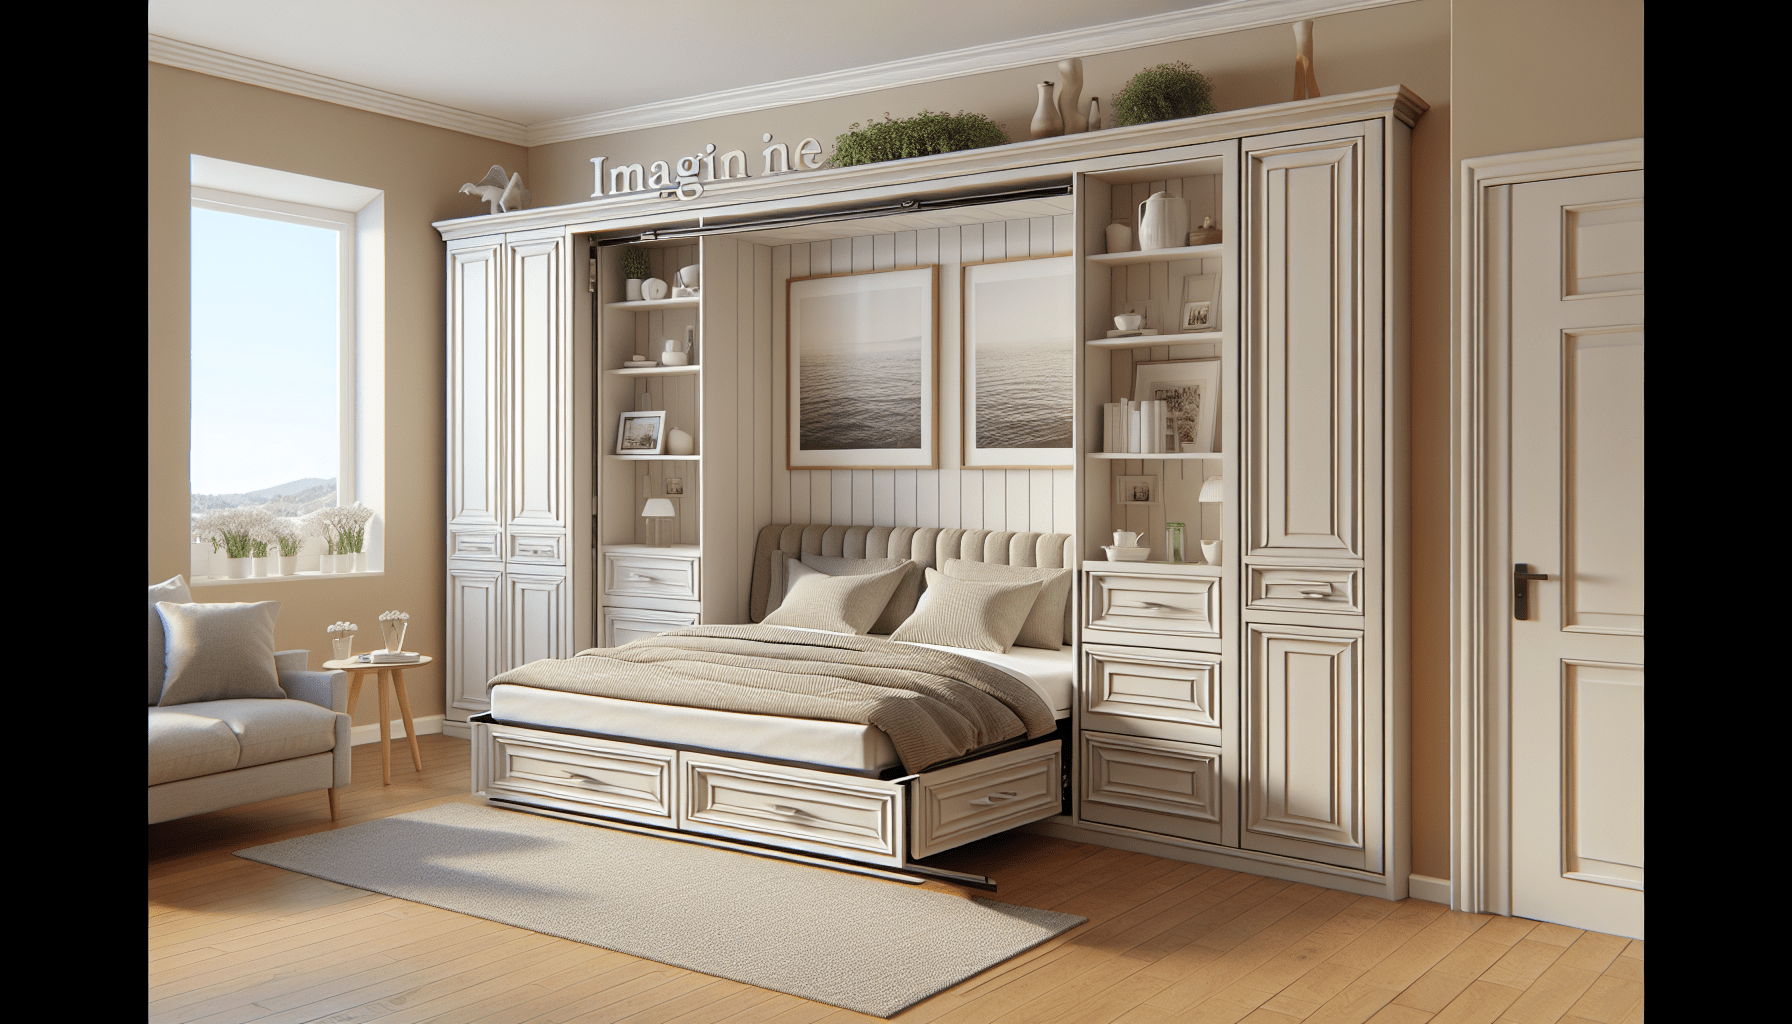
The finished Murphy bed provides storage, a full-size mattress, and attached end tables with drawers. The shelves and end tables add functionality and visual interest to the bed. With proper planning and execution, the custom Murphy bed adds both aesthetic appeal and practicality to any space.
