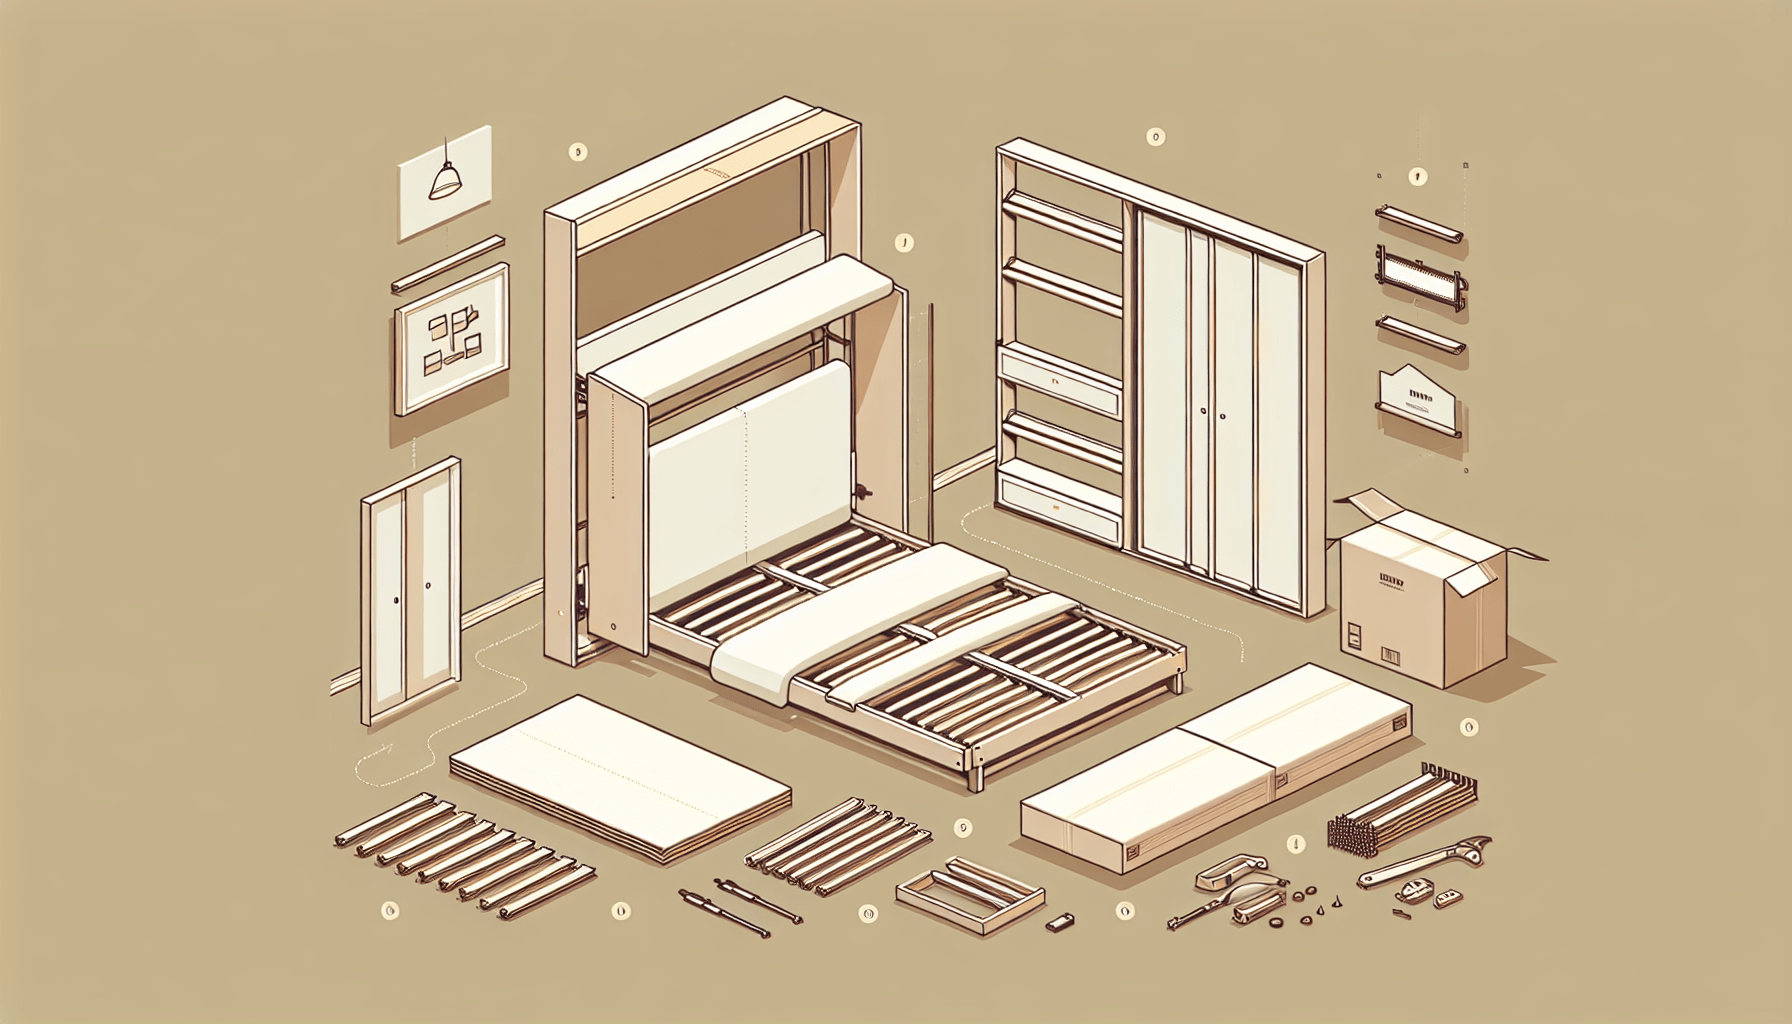
Are you ready to embark on a woodworking adventure and create your very own Murphy bed? The video tutorial by Swanky Slab Woodcraft makes building a Murphy bed accessible to beginners, using everyday tools found in your garage. The process involves cutting wood to specific measurements, gluing pieces together, and assembling the bed frame with step-by-step guidance.
With an easy-to-follow approach and simple instructions, you can transform your space with a practical yet stylish Murphy bed. From setting up a miter saw table to cutting pieces of wood, this project is perfect for those new to woodworking. Follow along and enjoy the satisfaction of creating your very own Murphy bed that will impress both guests and yourself.
Getting Started
When embarking on the exciting journey of building a Murphy bed, it is highly recommended to start by watching a tutorial by Swanky Slab Woodcraft. This video tutorial specifically tailored for beginners will guide you through the process step by step, making the entire project accessible and manageable.
The next crucial step is to gather all the necessary tools from your garage. You don’t need any specialized or fancy tools for this project. Simple everyday tools commonly found in most home garages will be sufficient to successfully build your Murphy bed. So, ensure you have everything you need before diving into the project.
Preparation
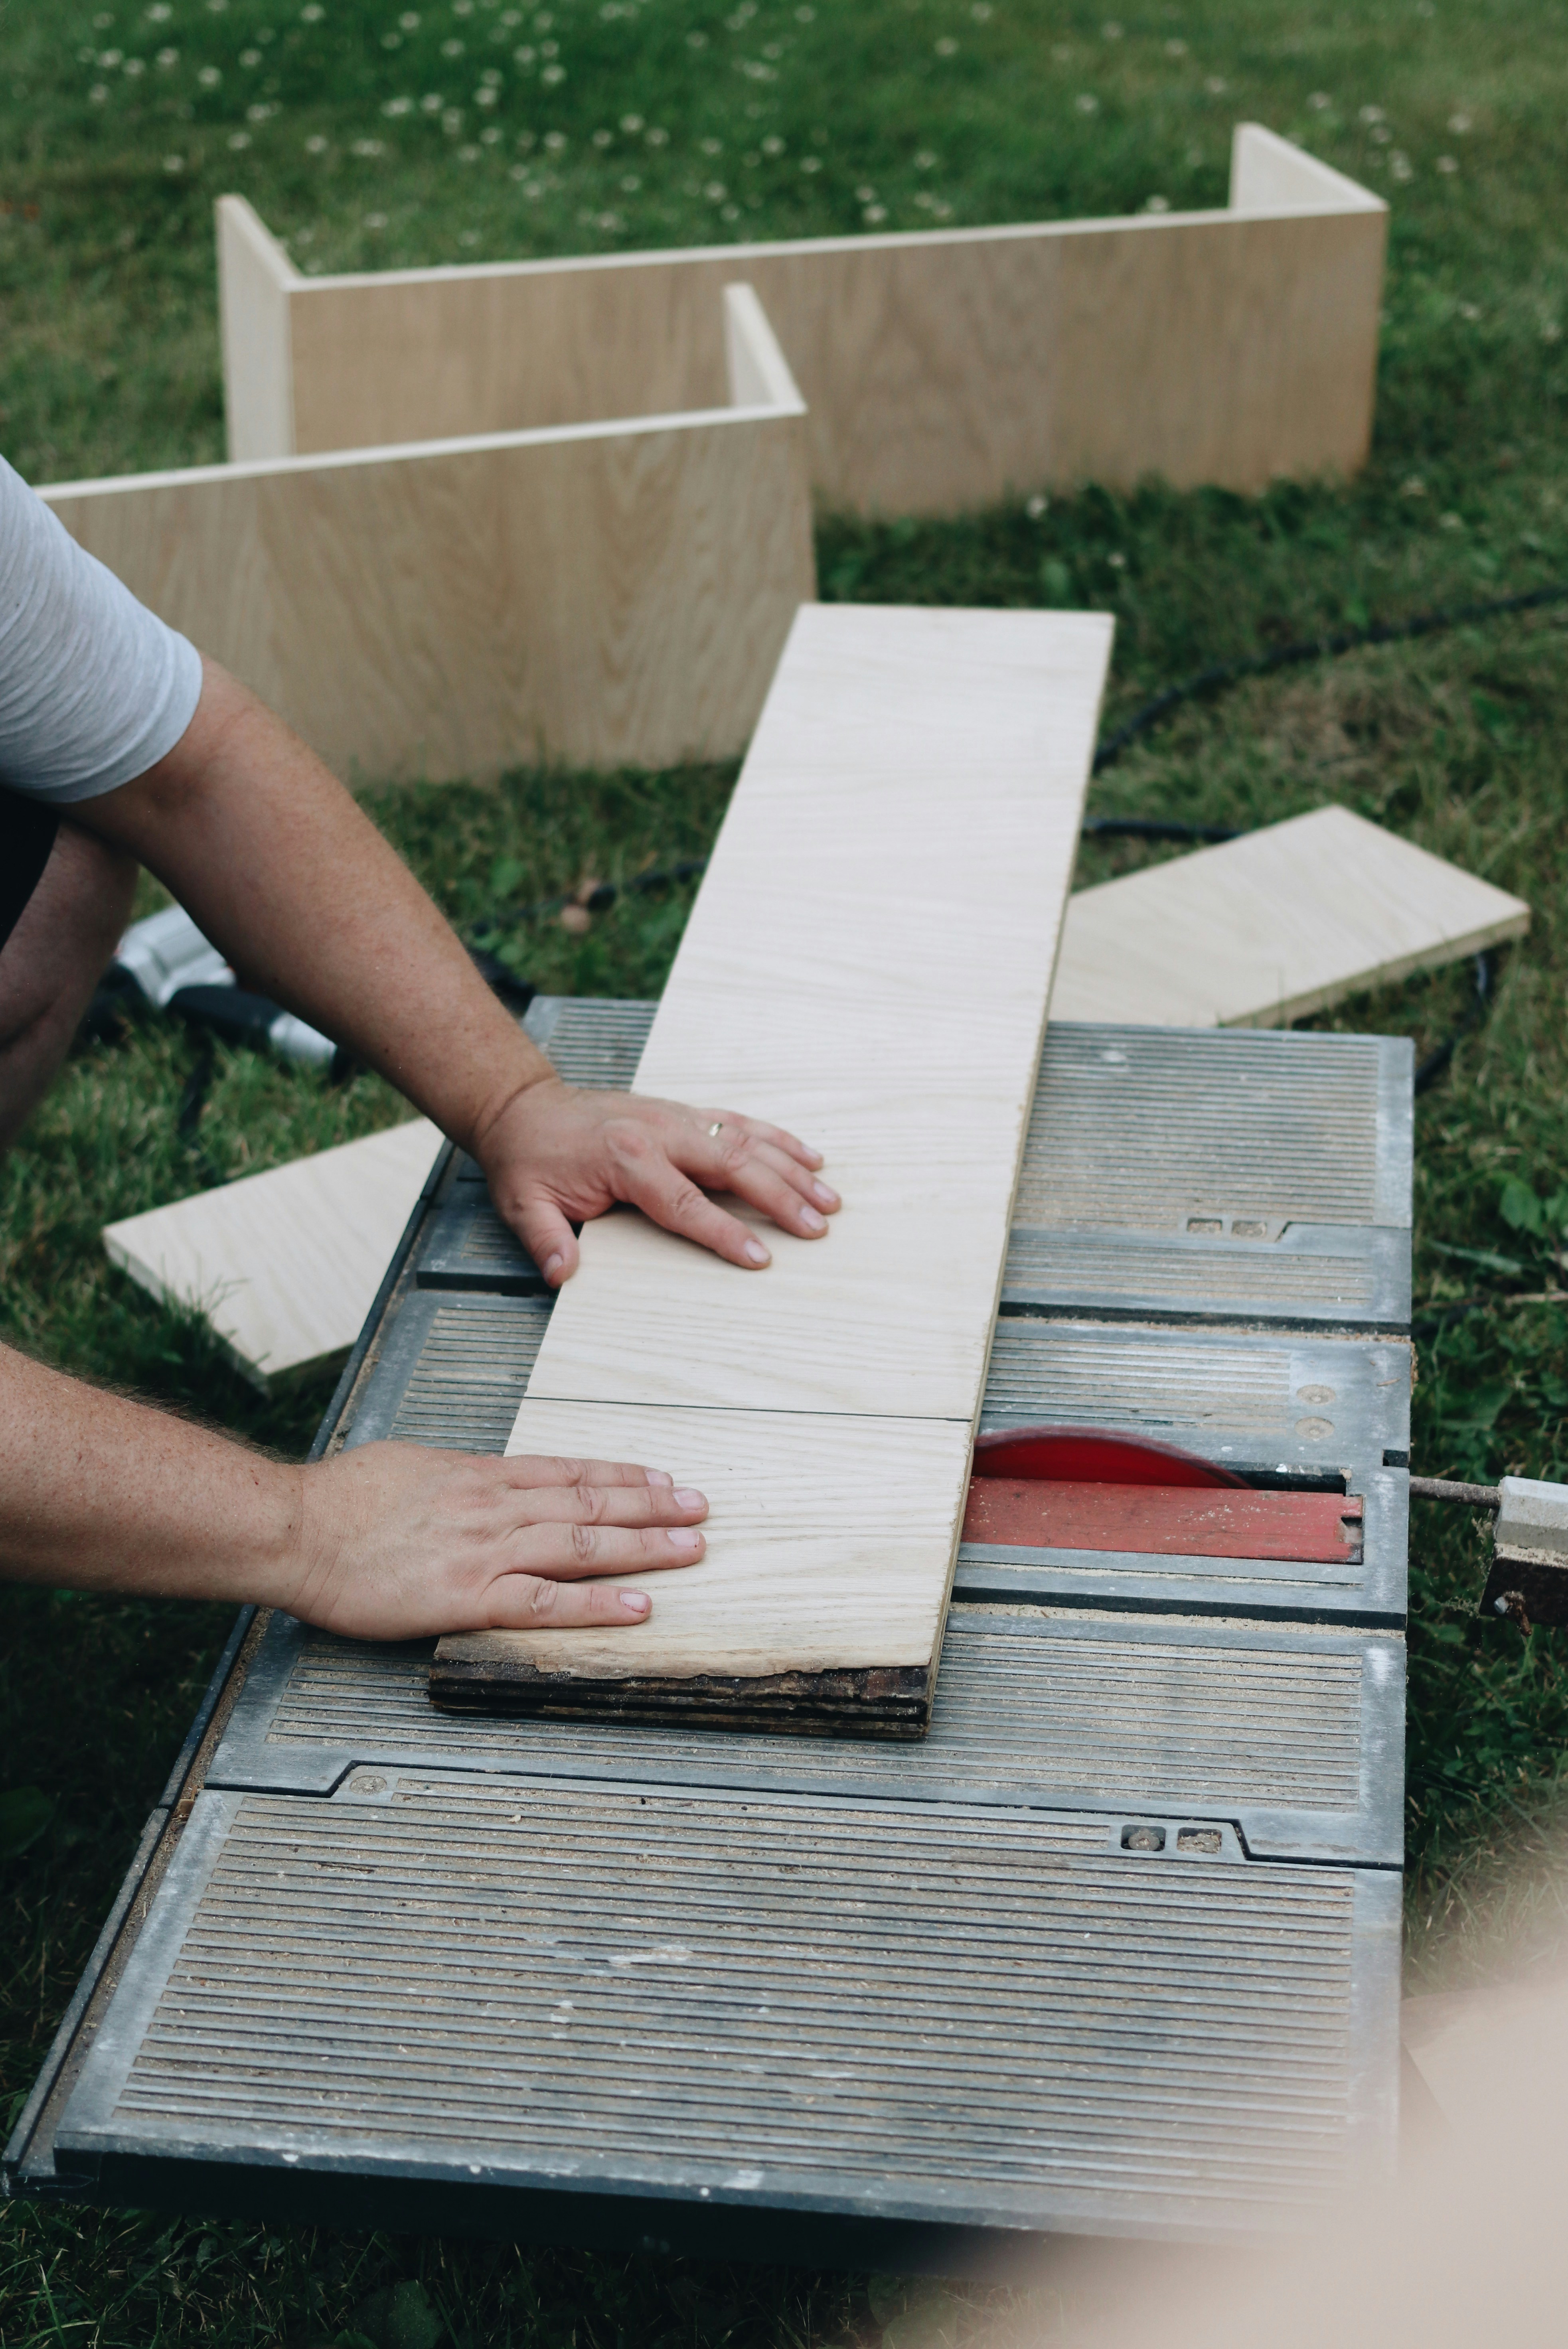
Setting up the miter saw table is the first task on your list. This table will be essential for making accurate and precise cuts in your wood pieces. A sturdy and stable miter saw table will provide a safe and reliable cutting surface for your project.
After setting up the table, the next step is to measure and mark the wood pieces for cutting. Accuracy is key in this stage, as precise measurements will ensure a seamless assembly process later on.

Cutting Wood
To kickstart the actual construction process, begin by cutting 10 pieces of the same length for the bed rail. These pieces will form the core structure of your Murphy bed frame, providing stability and support.
In addition to the bed rail, you will need to cut longer pieces for the mattress side. These longer pieces will help support the mattress when the Murphy bed is unfolded for use.
Assembling the Bed Frame
Now comes the exciting part of putting together your Murphy bed frame. Start by gluing the 10 pieces for the bed rail together. This step is crucial in creating a solid and durable foundation for your bed frame.
Once the bed rail is assembled, attach the longer pieces for the mattress side to the frame. This will complete the basic structure of your Murphy bed, ready for further customization and enhancement.
Adding the Hardware
For the functionality of your Murphy bed, it is essential to install the hardware for the folding mechanism. This hardware will allow you to easily fold and unfold the bed, maximizing space efficiency in your room.
To ensure stability and support, attach support legs to the bed frame. These support legs will bear the weight of the mattress and sleeper, maintaining the durability of your Murphy bed over time.
Finishing Touches
Before moving on to the final stages of your project, it is essential to address any rough edges on the wood pieces. Sanding down these rough edges will result in a smooth and polished appearance, enhancing the overall aesthetic of your Murphy bed.
After sanding, you have the option to stain or paint the bed frame. Choosing a finish that complements your room decor will add a personalized and cohesive touch to your DIY creation, making it truly your own.
Testing the Murphy Bed
With the bed frame assembled and finished, it’s time to put it to the test. Ensure proper folding and unfolding functionality to guarantee seamless operation of your Murphy bed. Additionally, test the bed for sturdiness by applying gentle pressure and ensuring that it can support the weight of a mattress and sleeper.
Securing to Wall
To safely secure the Murphy bed to the wall, locate wall studs for anchoring. Wall studs provide the necessary support to ensure that your Murphy bed is securely mounted. Use appropriate screws to attach the bed frame to the wall, ensuring that it is stable and safe for use.

Customization Options
Once your Murphy bed is fully constructed and secured, consider customization options to enhance its visual appeal and functionality. You can add molding or trim for a decorative touch, elevating the look of your bed frame. Additionally, incorporating storage solutions into the bed design can maximize the utility of your Murphy bed, making it a versatile piece of furniture.
Conclusion
Building a Murphy bed for beginners is a rewarding DIY project that can save space and add functionality to any room. With the guidance of a tutorial and basic tools from your garage, you can successfully create a customized Murphy bed that fits your space and style. Embrace the process, enjoy the journey, and revel in the satisfaction of completing a practical and stylish piece of furniture for your home.


