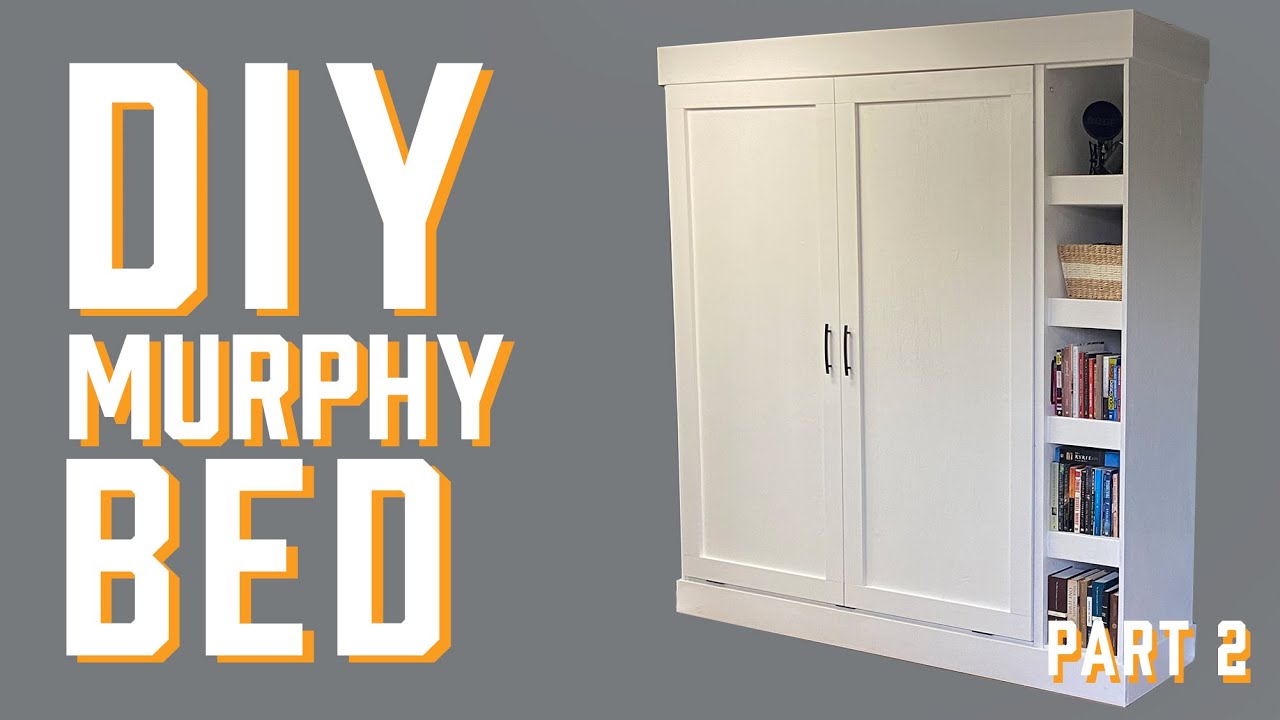
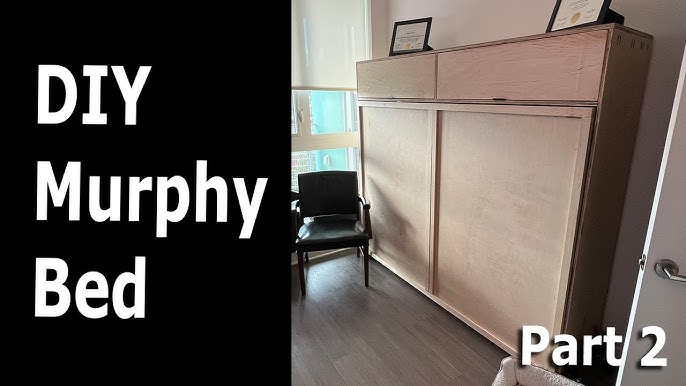
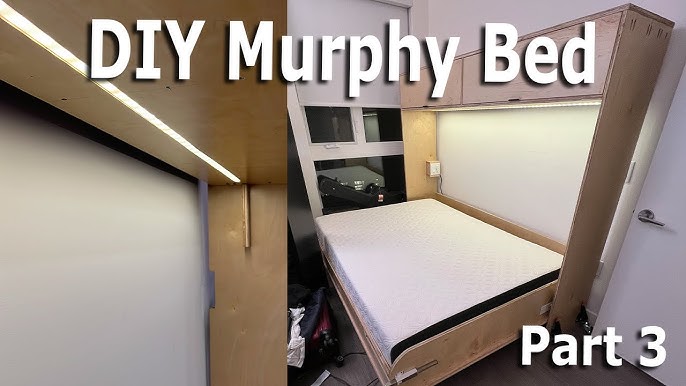
Hey there! Today, I’ll be showing you how to finish up your Murphy bed project. This is the second part of the video series, so make sure to check out the first part where we built the frame and prepped it for paint. The project involves painting with three coats, adding molding, framing the folding door, and building a headboard using 2x4s. We also attached bookshelves, added trim, and secured the cabinet to the wall with screws to prevent the mattress from sliding. The final product fits well in the space and looks fantastic!
In this video, I’ll show you the process of putting final touches on your Murphy bed. From attaching bookshelves to the side to filling in nail holes with caulk, we’ll go through each step together. Don’t forget to subscribe to my channel if you find this content helpful – it really helps me out!
Painting and Finishing
When it comes to painting and finishing your Murphy bed project, it is crucial to apply three coats of paint to achieve a polished look. This process ensures that every surface is covered evenly and provides a durable finish. The first two coats of paint should be applied before assembling the cabinet, while the final coat can be done after the cabinet is fully assembled and installed in its designated space. Remember that three coats of paint may require nearly a full gallon of paint, so be sure to have enough on hand.
In addition to painting, adding molding to your Murphy bed is essential for a finishing touch. Molding helps to enhance the overall appearance of the bed and adds a touch of elegance to the design. By using pre-primed 1×6 moldings on the cabinet, you can easily add one final coat of paint once everything is installed. The molding not only provides a polished look but also covers any seams or imperfections in the construction, creating a clean and cohesive finish.

Design Enhancements
To elevate the design of your Murphy bed, consider implementing various enhancements to customize the look and functionality of the bed. Framing up the folding door to create the illusion of two separate doors is a clever design trick that disguises the bed’s true purpose. By using 1×4 moldings and spacing them slightly apart, you can achieve a realistic door-like appearance that adds depth to the overall design.
Installing large cabinet door handles is another stylish enhancement that can elevate the look of your Murphy bed. By using a quick guide to ensure precise placement, you can easily mount the handles in the center of the door, creating a cohesive and visually appealing design. Separating the handles by a small gap adds a touch of authenticity to the design, mimicking the look of traditional doors.
Building a headboard using 2x4s is a functional and aesthetic addition to the Murphy bed. The headboard not only provides support for the bed but also adds a decorative element to the design. By incorporating two pieces of wood on the ends to prevent warping and securing the headboard with metal brackets, you can create a sturdy and visually appealing feature.
Attaching bookshelves to the side of the Murphy bed enhances the bed’s functionality by providing additional storage space. Pre-drilling holes and using screws to secure the shelves without poking through the plywood ensures a seamless integration of the bookshelves with the rest of the design. This practical addition adds both style and utility to the Murphy bed.
Adding trim to the cabinet face is a simple yet effective way to enhance the overall appearance of the Murphy bed. By covering the exposed edges of the plywood with thin pieces of molding, you can create a finished and polished look that conceals any imperfections. The trim adds a professional touch to the design, completing the cohesive look of the cabinet.

Assembly and Installation
Assembling and installing your Murphy bed requires attention to detail and precision to ensure a stable and functional end result. Attaching top molding with hinges allows for easy access to the bed when opening and closing. The hinges enable the top molding to flip up as the bed is lowered, providing a seamless transition and maintaining the elegant design of the bed.
Filling nail holes with caulk is an important step in achieving a flawless finish for your Murphy bed. By using caulk to fill in any gaps or imperfections, you can create a smooth surface that is ready for painting. This process ensures that the final coat of paint adheres properly and creates a seamless look across the entire cabinet.
Securing the cabinet to the wall with screws is essential for ensuring the stability and safety of your Murphy bed. By anchoring the cabinet to the wall studs with long screws, you can prevent any potential accidents or instability. This step is crucial for supporting the weight of the bed and ensuring it remains securely in place.
Adding a pin to hold the door in place when open is a practical addition that enhances the functionality of the Murphy bed. By installing a pin mechanism that locks the door in position when open, you can create a secure and reliable system for accessing the bed. This feature ensures that the door remains in place during use and provides added convenience.
Using bungee straps to prevent the mattress from sliding is a smart solution to maintain the mattress in place when the bed is opened and closed. Bungee straps can be easily attached to the mattress and the bed frame, preventing any movement or shifting during use. This simple yet effective addition ensures the mattress stays in position and enhances the overall functionality of the Murphy bed.

Final Touches
Before completing your Murphy bed project, ensure that the final product fits well in the space it was designed for. Make any necessary adjustments to ensure that the bed aligns correctly within the room and complements the overall decor. Checking the dimensions and position of the bed ensures a seamless integration into the space and enhances the overall aesthetic of the room. By taking the time to verify the fit and placement of the Murphy bed, you can achieve a cohesive and visually appealing result.
