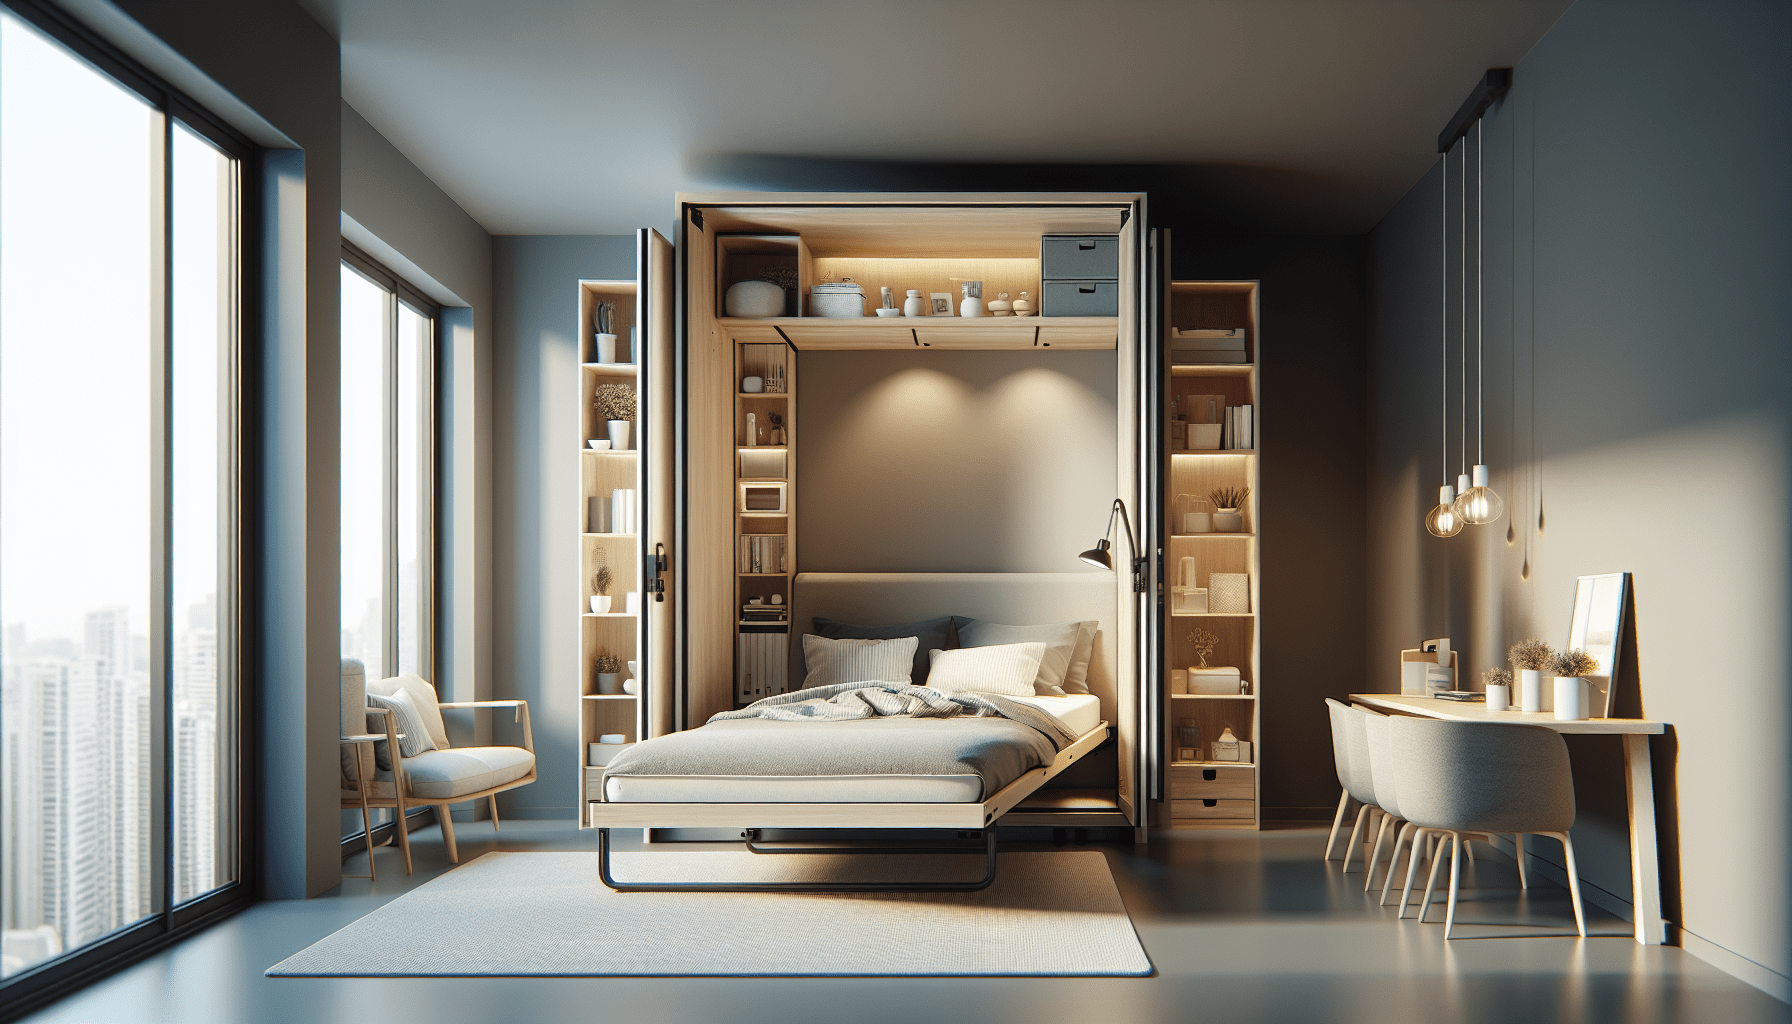
Hey there! In the video “More than a Murphy Bed” by Michael Alm, he takes us on an exciting project of building a bedroom in a wall. This project includes not only a Murphy bed but also an integrated bedside table, LED lighting fixtures, USB outlets, and so much more. Michael shares valuable tips and tricks for building a built-in, and the video features Rockler products, which are available in his Amazon store. If you’re interested in exploring this fun and challenging project, you’ll definitely find a lot of helpful information in this video.
In the video, Michael is currently at a client’s house working on a built-in bedroom that will feature a Murphy bed, integrated bedside table, and LED lighting. He starts by designing the built-in with a false wall, ensuring it is perfectly flat and level. Using framing lumber, he creates a reliable base for the build. Michael also builds a soffit to lower the height and run electrical wiring, and he carefully aligns everything using a laser level. With the addition of cleats and screws, the build becomes more secure. An electrician helps with the electrical wiring, and once the panels are cut, sanded, and primed, Michael applies multiple coats of finish. He also incorporates dominoes for certain connections and installs the Murphy bed hardware kit. Finally, he adds the finishing touches like door installation and hardware before completing the impressive built-in.

Design and Planning
Designing the built-in bedroom allows you to create a functional and stylish space that maximizes every square inch. In this project, you’ll be incorporating a Murphy bed and bedside table, as well as features like LED lighting. By carefully planning the design, you can ensure that the built-in meets all your needs and enhances the overall aesthetics of the room.
Building the Foundation
Creating a flat and level false wall is essential for the stability and durability of the built-in bedroom. By using framing lumber, you can provide a reliable base for the build. This ensures that the structure is sturdy and able to withstand regular use. Additionally, constructing a soffit allows you to run electrical wiring through the ceiling, keeping it hidden and maintaining a clean appearance.
Ensuring Proper Alignment
Proper alignment is crucial to achieve a professional and polished look for the built-in bedroom. Using a laser level ensures accuracy during the installation process. It allows you to align the various components of the built-in perfectly. Additionally, employing a standard level helps you achieve precise alignment, ensuring that everything is level and aligned correctly.
Adding Structural Support
Adding additional structure to the built-in bedroom is important for its stability and durability. By installing cleats and securing them with screws, you can provide extra support to the structure. This ensures that the built-in is solid and can withstand regular use without any issues. The additional structure adds strength and reinforces the overall build.

Electrical Wiring and Lighting
Collaborating with an electrician is necessary to ensure the safety and functionality of the electrical wiring in the built-in bedroom. By installing the wiring and lighting fixtures properly, you can create a well-lit and functional space. The electrician will guide you through the process and ensure that all the wiring is up to code and meets safety standards.
Preparing the Surfaces
Preparing the surfaces of the built-in bedroom is an important step in achieving a clean and professional appearance. Cutting and sanding the panels ensures that they fit perfectly into place without any gaps or uneven edges. Applying primer to the surfaces allows for a smooth finish and provides a base for the paint. This step ensures that the built-in looks seamless and enhances the overall aesthetics of the room.

Applying Finishing Touches
Applying multiple coats of finish to the built-in bedroom enhances its aesthetics and functionality. By carefully applying the finish, you can protect the surfaces and create a durable and long-lasting built-in. Using dominoes for secure connections, such as securing the bedside table, ensures that the components are stable and will withstand regular use. These finishing touches add the final details to the built-in, making it both visually appealing and functional.
Installing Hardware
Installing the Murphy bed hardware kit and additional hardware is the next step in the construction process. By following the instructions provided with the hardware, you can ensure that everything is installed correctly and functions properly. Paying attention to details and ensuring proper functionality and convenience is key in this step. This ensures that the built-in bedroom is user-friendly and meets all your requirements.

Final Touches
Installing doors for the built-in bedroom provides a finished look to the structure. This step completes the overall design and adds a touch of elegance. Adding decorative hardware further enhances the aesthetics and adds a personal touch to the built-in. With the doors installed and the hardware in place, the built-in bedroom is officially complete.
Conclusion
By following the steps outlined above, you can achieve a functional and stylish built-in bedroom. Customizing the space with features like LED lighting adds to its functionality and enhances the overall aesthetics. Through careful design and planning, as well as proper execution, you can create a professional and reliable built-in bedroom that meets all your needs and enhances the overall look of your home.
